The menu is accessed by pressing the circular button. NOTE: Do not press and hold – this will turn the monitor off.
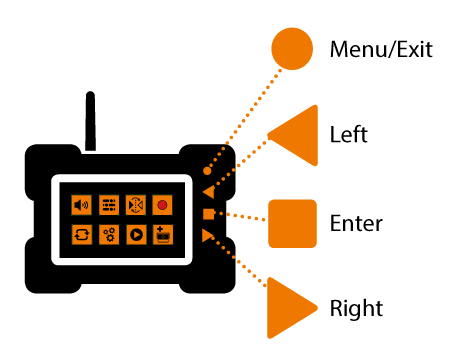
The eight menu categories will be shown, and the active icon is indicated with white. Use the arrows to navigate between the categories. Select category by pressing the square button. To navigate out of a category or to close the menu, press the circular button.
Some categories have sub-categories. Use the arrow buttons to navigate between the sub-categories and select with the square button. To navigate out of a sub-category, press the square button again.
Volume

Use the arrow buttons to change the volume.
Picture
This category has three sub-categories. Use the arrow buttons to navigate between the sub-categories and select with the square button. To navigate out of a sub-category, press the square button again.
Brightness
Use the arrow buttons to make the picture brighter or darker.
Contrast
Use the arrow buttons to change the contrast between light and dark areas.
Color
Use the arrow buttons to change the color saturation. A low value will give a black and white picture.
Mirror/Flip
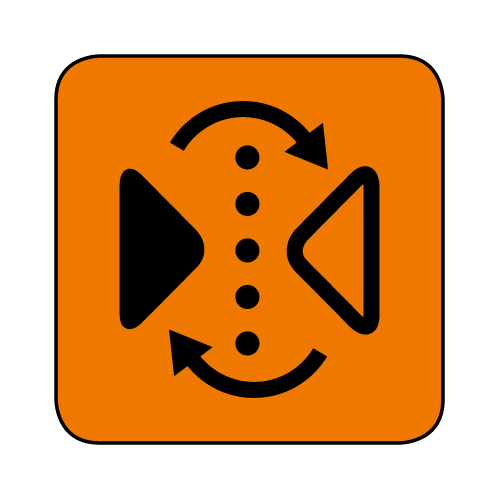
This category sets how the camera image is presented on the monitor. You can mirror the image, flip it upside down, or both.
Record

If you want to record video on the current channel, first make sure that the monitor has a micro-SD card installed.
This category has three sub-categories. Use the arrow buttons to navigate between the sub-categories and select with the square button. To navigate out of a sub-category, press the square button again.
Recording on/off
To start and stop the recording, toggle the switch. The recording is started when the switch is green and a small blue square is present in the top of the picture. NOTE: The system will not give you a warning if an SD card is not installed!
Overwrite old files
Toggle this switch to enable the monitor to overwrite the oldest files when the SD-card is full.
Format SD card
Toggle this switch to format the SD card. NOTE: All files will be lost in the process!
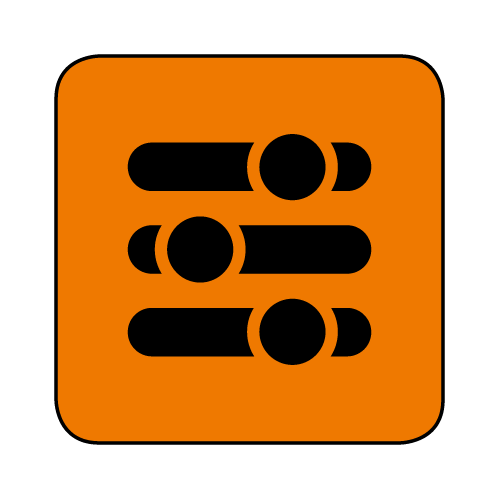
Loop settings

Here you can select which channels that should be included in the channel looping (see the section “Navigating the channels”). Use the arrow buttons to toggle the switch. The green switch indicates that this channel is included.
The time icon sets the interval in seconds for showing the next channel. Use the arrow buttons to increase or decrease the interval.
System
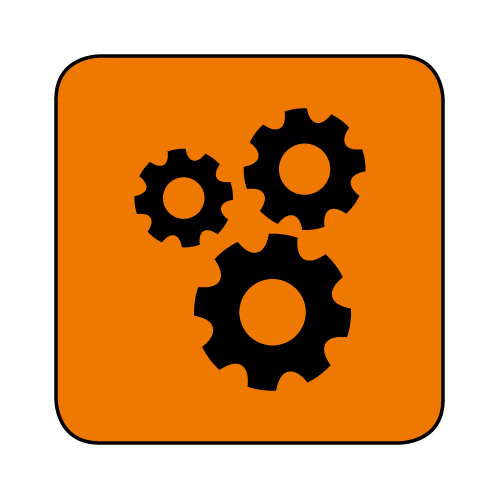
This category has three sub-categories. Use the arrow buttons to navigate between the sub-categories and select with the square button. To navigate out of a sub-category, press the square button again.
Time
Here you can set the date and time for the system. Step through the numbers with the square button and use the arrows to change the values.
Color system
Here you can set whether the video should be in PAL or NTSC format. Use the arrows to switch between the two formats.
Auto dimmer
Toggle this switch to enable the monitor to enter night mode and turn darker after 5 seconds in a dark environment.
Backing distance
Toggle this switch to enable the backing distance indicators on Channel 4. Note that these can only be used with Channel 4.
Play

Here you can view your recorded files on the SD card. If no SD card is present, this choice will show the dual screen mode.
Add camera

Here you can add a camera to the system.
NOTE: Before selecting this category, make sure you have selected the channel the camera should be added to. See the upper left corner of the monitor.
See the “Adding a camera” section above for further instructions.